
We have a very mid-century modern decorated apartment. With a splash of Lego and Adventure Time characters, piles of books that are threatening to topple, and dog toys.
It’s kind of like mid-century modern with a splash of hoarders and the really messy section of the library at Hogwarts. As another book came in the mail the other day, Andrew not so subtly suggested that maybe I go to the library. Not that I don’t love libraries (I do) or think they are amazing (they are), but have YOU ever tried to get a book that was released anytime in the last year from the library? Maybe where you live, it’s easier, but here, when you go to put a hold on it, you see there are 20 copies of the books, and you are number 459 in line for one of those copies, you give up hope and just buy the book.
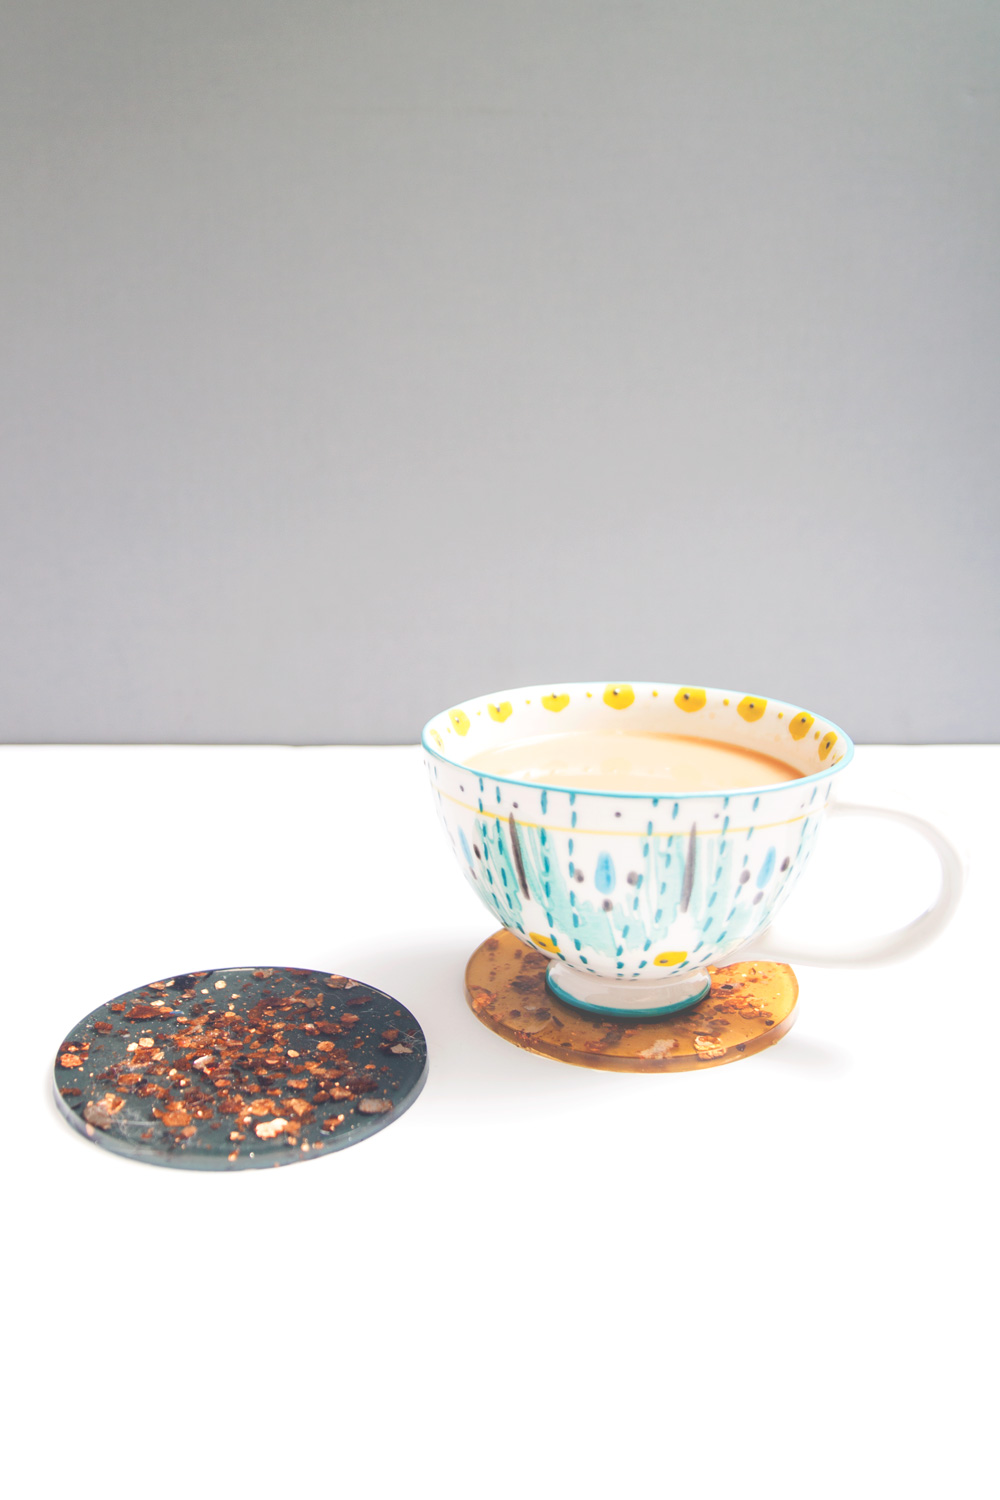
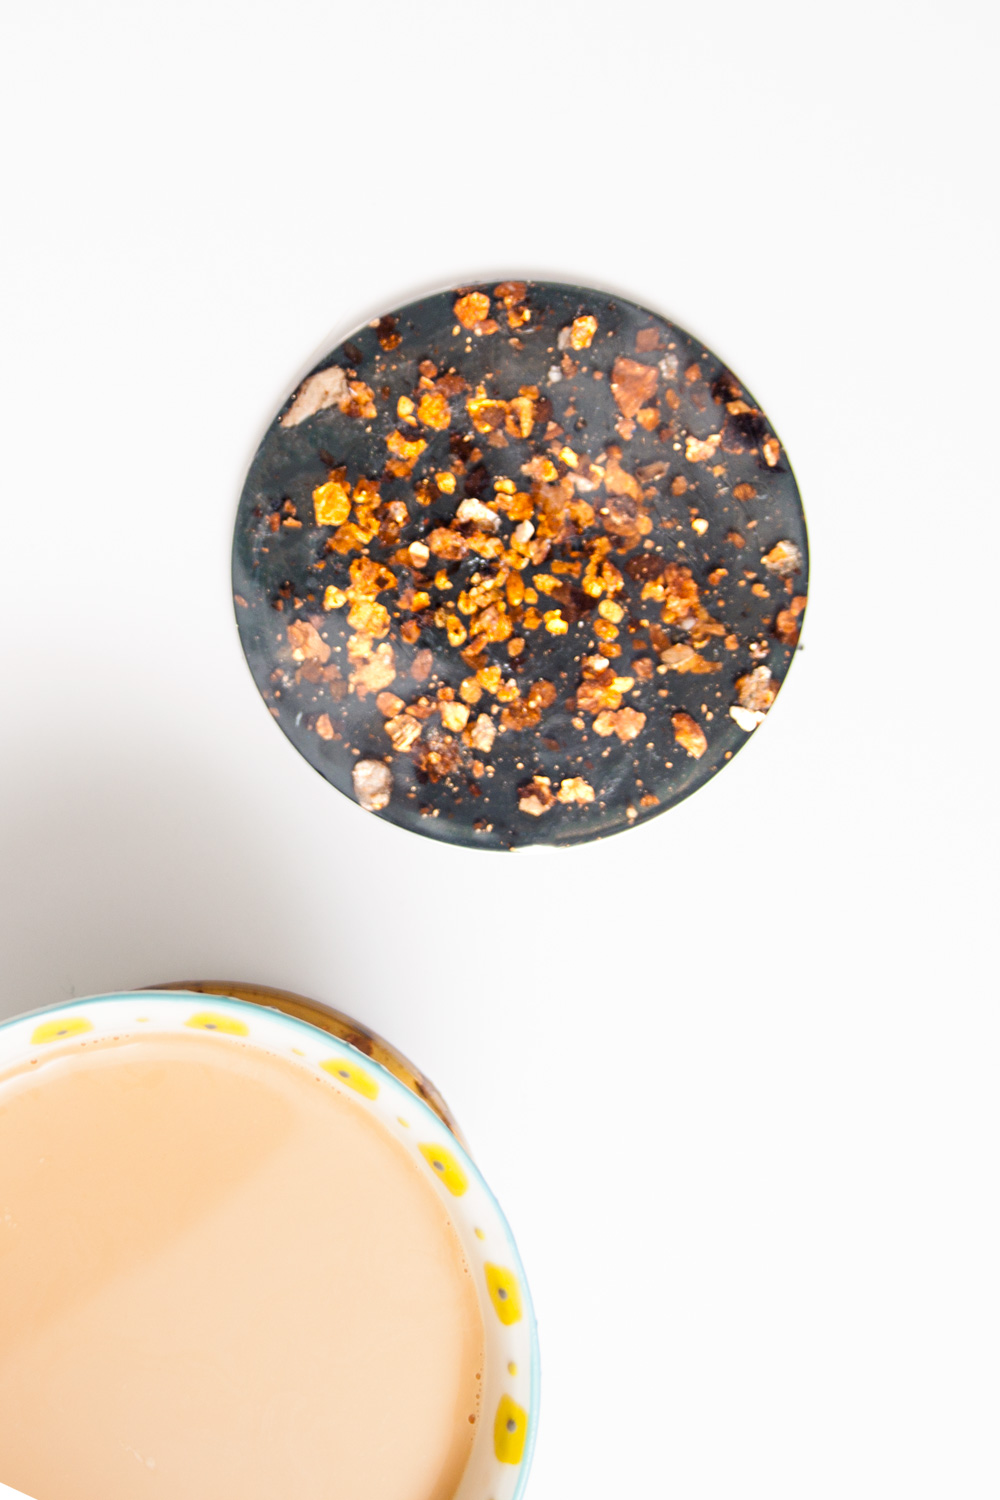
But I’m getting off topic here. Coasters. Copper flake coasters made with resin. I thought I’d messed this project up, my resin looked like amber. However, when Andrew saw them he said he liked the amber color because “it reminded him of colors of the 70s” and “would go really well with an avocado colored couch.” Then words about how it all fits together into our mid-century modernish decor that I don’t remember because I had stopped listening. I was thinking of how to halt the avocado couch. Next, he will want to put brown pillows on the avocado couch of our future, since those colors maybe go together. All I can think about is how I will feel like I’m inside a bowl of half oxidized guacamole while sitting on the couch.
I feel like I'm inside a bowl of half oxidized guacamole.Click To TweetIn the end, it all worked out because I painted the bottom of the coasters and you can’t tell the resin dried amber.
Now, for those of you who have never used resin before, I’m sure you are thinking, “How is using resin a lazy project?” I keep saying I’m going to do a post on using resin, but you know, the lazy. Besides, there is the internet where you can google “how to use resin” just like I did the first time and someone had already blogged/made a video/wrote a book on the subject. All you need to know about using resin is, buy a kit from Amazon or a craft store, and mix EXACTLY equal parts of the hard to measure and sticky yet oily substance in each of the two bottles.
There are more directions, and they involve stirring with popsicle sticks, but there will probably be instructions.
Once things are stirred, you pour it into your mold. Then set it somewhere where your cat won’t try and bat at because he thinks the inanimate object that hasn’t even shifted on the table for five hours for any reason, may be alive and he needs to punch it.
Okay, so my path to the copper flake coasters wasn’t as easy as I had planned. Thankfully, I don’t think a lot of you will have to battle the husband-avocado couch-punching cat monster that I did.
SUPPLIES FOR COPPER FLAKE COASTERS
- Resin
- Copper flake
- Mold
- Acrylic paint (I used gold and navy)
- Felt (any coordinating or neutral color)
- Glue
DIRECTIONS FOR COPPER FLAKE COASTERS
- Mix resin according to directions. For each coaster, I used a full one of the little cups that come with your set. They look like what you use for NyQuil instead of drinking it straight from the bottle.
- After you are done stirring the resin, add in some of the copper flakes and stir some more. Add however much you’d like, I added about a teaspoon, measured the Rachael Ray way.
- Pour into mold.
- Don’t touch it for at least 24 hours.
- Remove from mold.
- Paint bottom, which is actually the top. It will make sense when you see it; you want the cup to be able to sit on the smooth side.
- Glue a circle of felt, slightly smaller than the diameter of the coaster to the bottom. This is so they don’t stick to whatever surface you are trying to protect, possibly negating the purpose of the coaster.
- Make yourself a drink to test out your new coaster.
xx
[jetpack-related-posts]