Yesterday I woke up with glitter in my hair. Not that that is a bad thing, but I just thought I should warn you of the hazards of doing this project. Other hazards are being way too awesome and adding more sparkle to your life. I’m constantly telling Andrew that I’d like more pink and sparkles in our apartment. Not a TON, just a little bit, so I’m slowly coating everything in glitter.
It’s not even pink glitter! I’m saving all the pink glitter for another project involving unicorns, obviously. Also, I don’t know if I’m the last person to know this or not, but you can buy GLITTER SAMPLE PACKS. And that Michaels has their glitter in like, 15 different places. It’s like a really frustrating but amazing Easter egg hunt. When I stumbled across them, there was another woman standing there looking at something right next to the glitter of which I cannot remember what it was because I was too distracted by the glitter. I picked out a couple of different colorways and then proceeded to move on, except I only made it about 15 feet before I turned back and grabbed a handful of them. The woman laughed and said, “I know how you feel.” While large craft stores often make me want to tear my eyeballs out from the combination of people and oddly organized sections (“Oh, the embroidery floss is next to the wedding items, not the yarn section? Silly me, obviously I should have looked there first.”) it is nice when you have an encounter with someone who understands your fervid craft supply hoarding. That and the time I went the day before Christmas Eve and saved almost double the amount of what I spent on holiday ribbon and other gift wrapping items that the cashier LITERALLY HIGH FIVED ME.
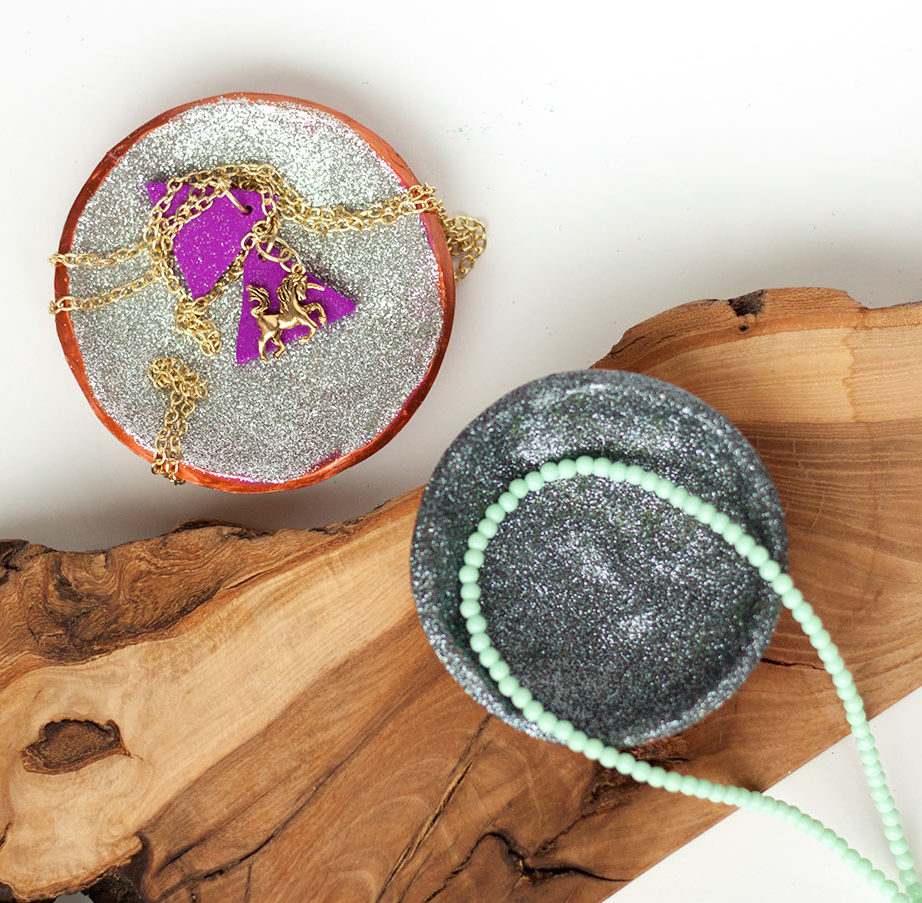
Okay, back to what you came here for! WARNING: I’m going to mention that December holiday and no one likes to talk about this early. These glitter ring bowls are perfect for gifts, especially for Christmas if you are deciding to do a handmade Christmas like Andrew, and I are. While they do take some time—most of that time is drying time—making them is incredibly easy, and the color + glitter combinations are endless! They are also small, so making and storing them for a few months won’t be too much of a hassle.
Not to go off topic again (who am I kidding, this blog is like 75% me being off topic), but I just remembered that you will need a cheap synthetic paintbrush for this and went to Amazon to find an example and as I typed in “synthetic” Amazon suggest that I was looking for “synthetic urine.” NOT JOKING. Of course, I had to click on that. Dudes, there is an entire fake pee market. And one posting for a “wearable urinal.” Yeah, I’m not sure what to do with that one either. But I found the paintbrushes!
Happy crafting!
SUPPLIES FOR DIY GLITTER RING BOWLS
- Oven bake clay
- Something round to cut out your shape
- Something slightly smaller but still round and oven safe to bake the clay in (I used a set of graduated biscuit cutters)
- Glitter
- Porcelain paint (I used copper)
- Glaze (Glossy)
- Cheap synthetic paint brushes
STEP ONE
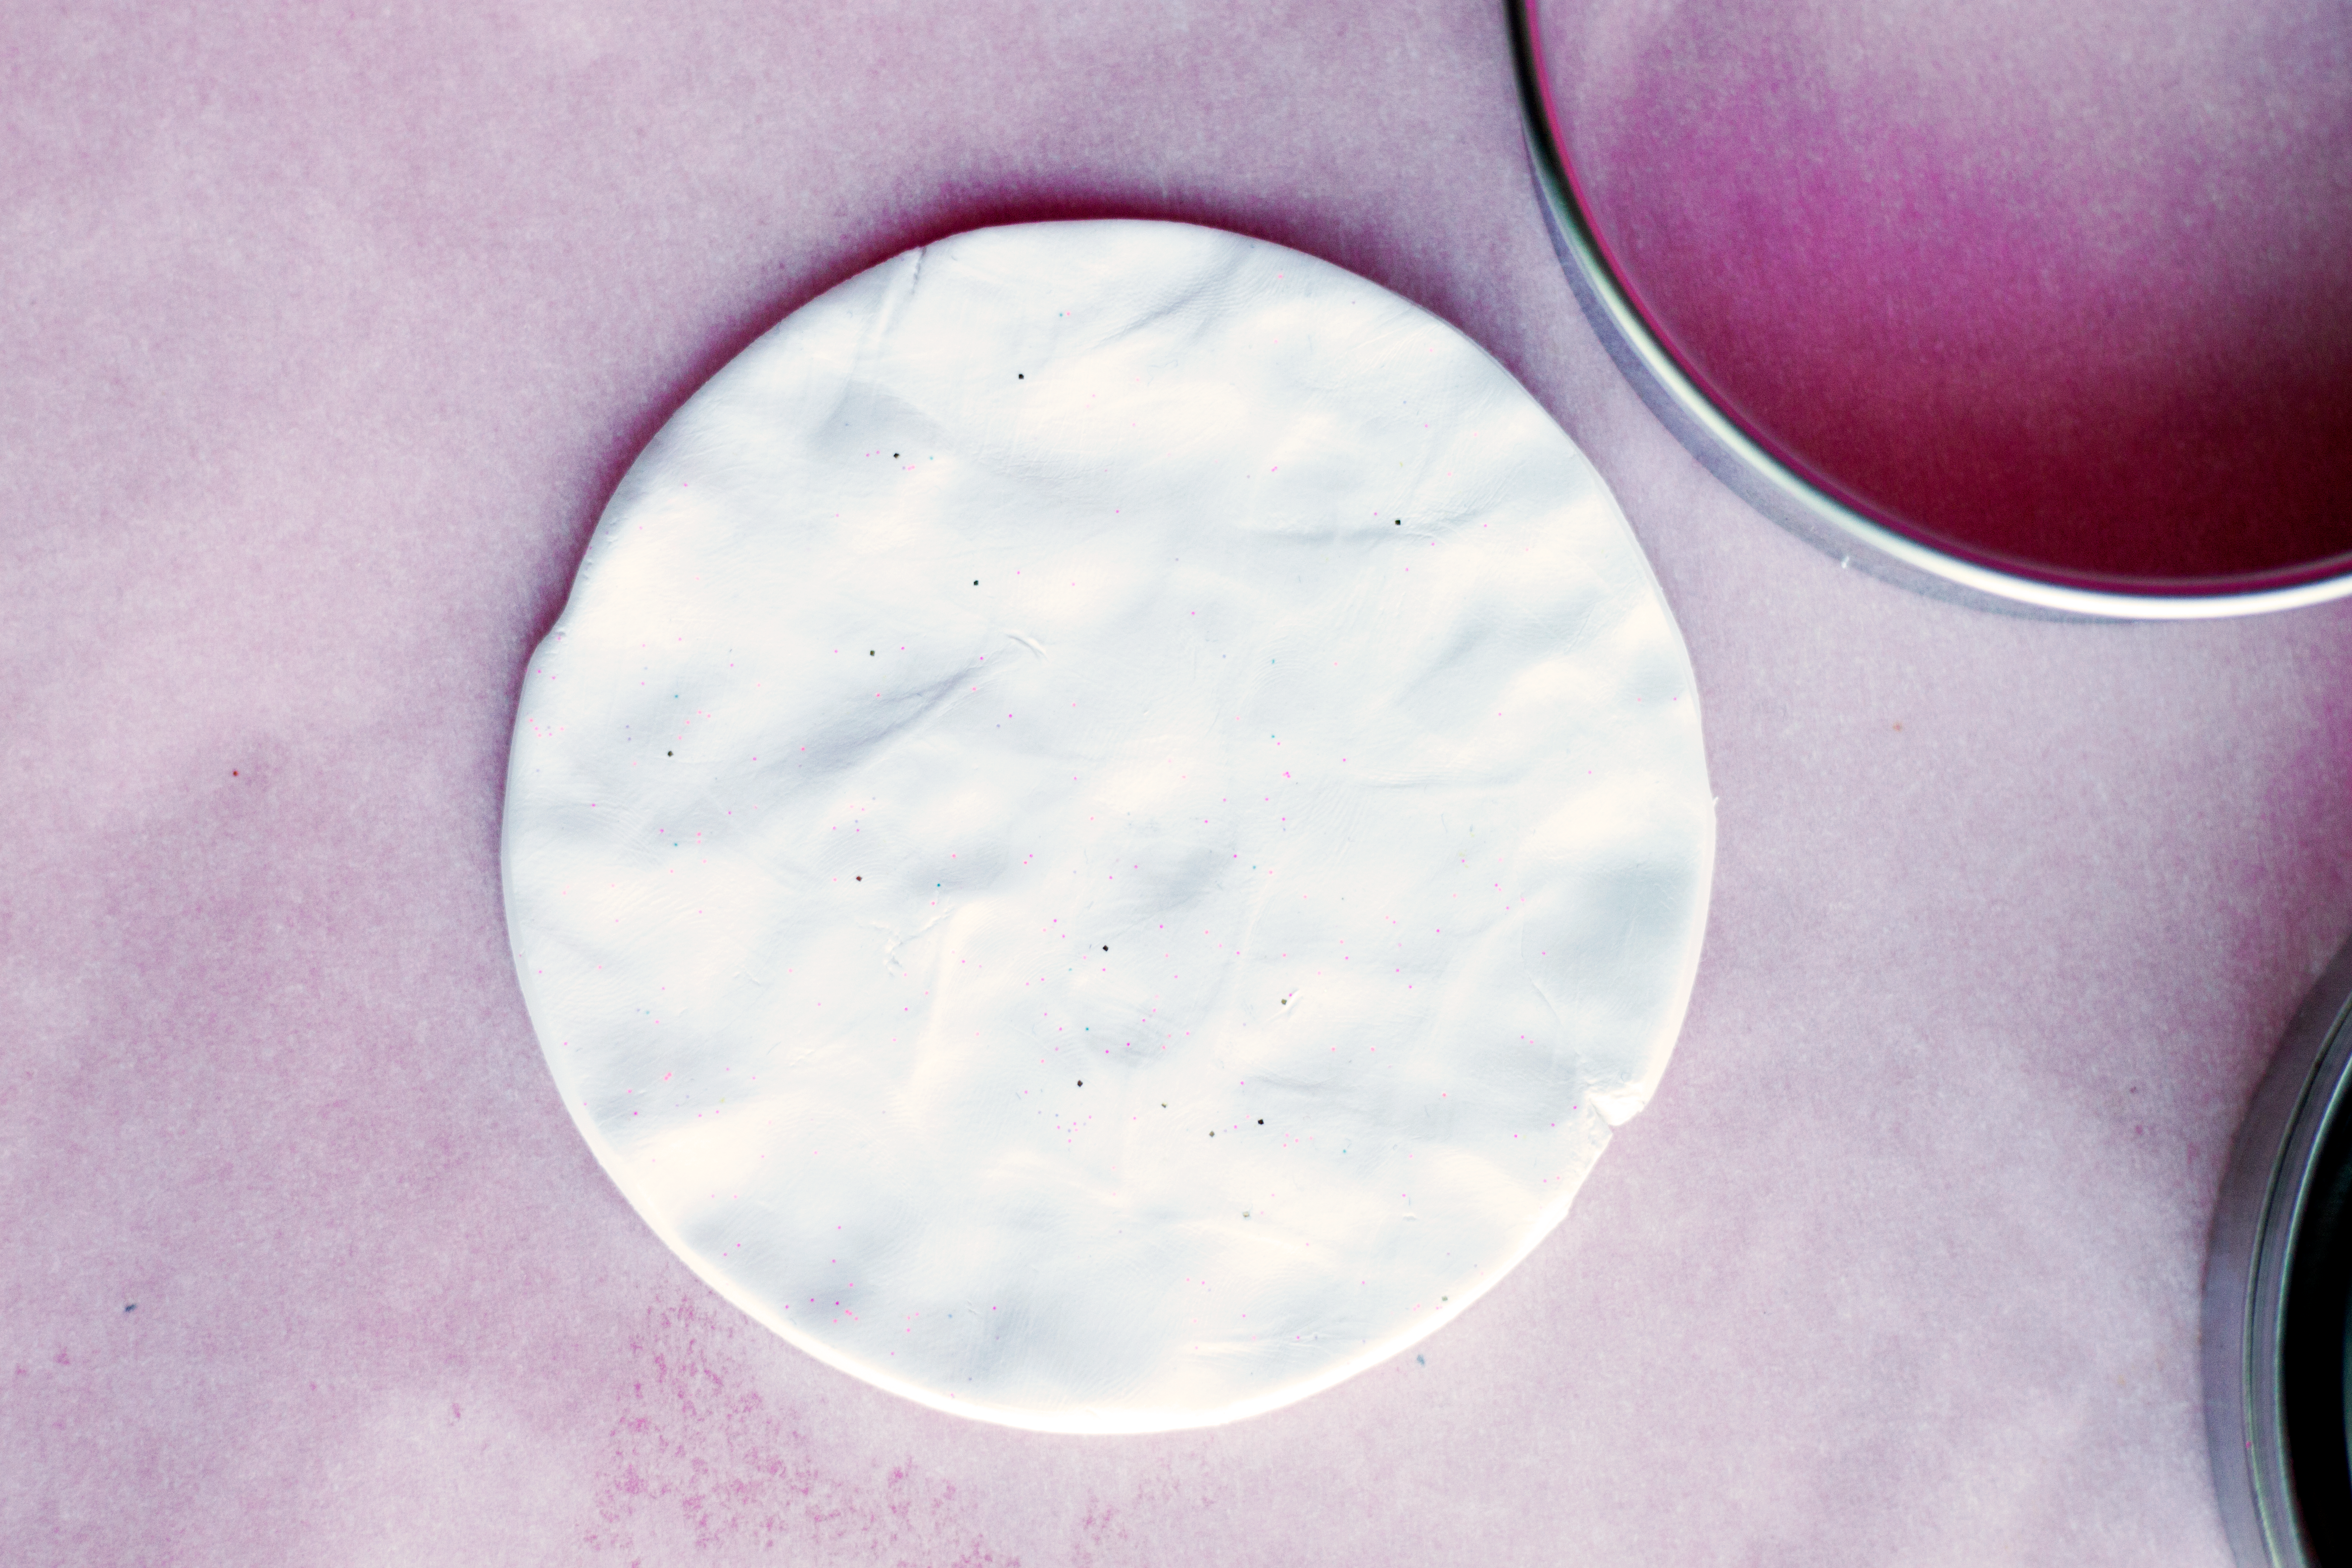
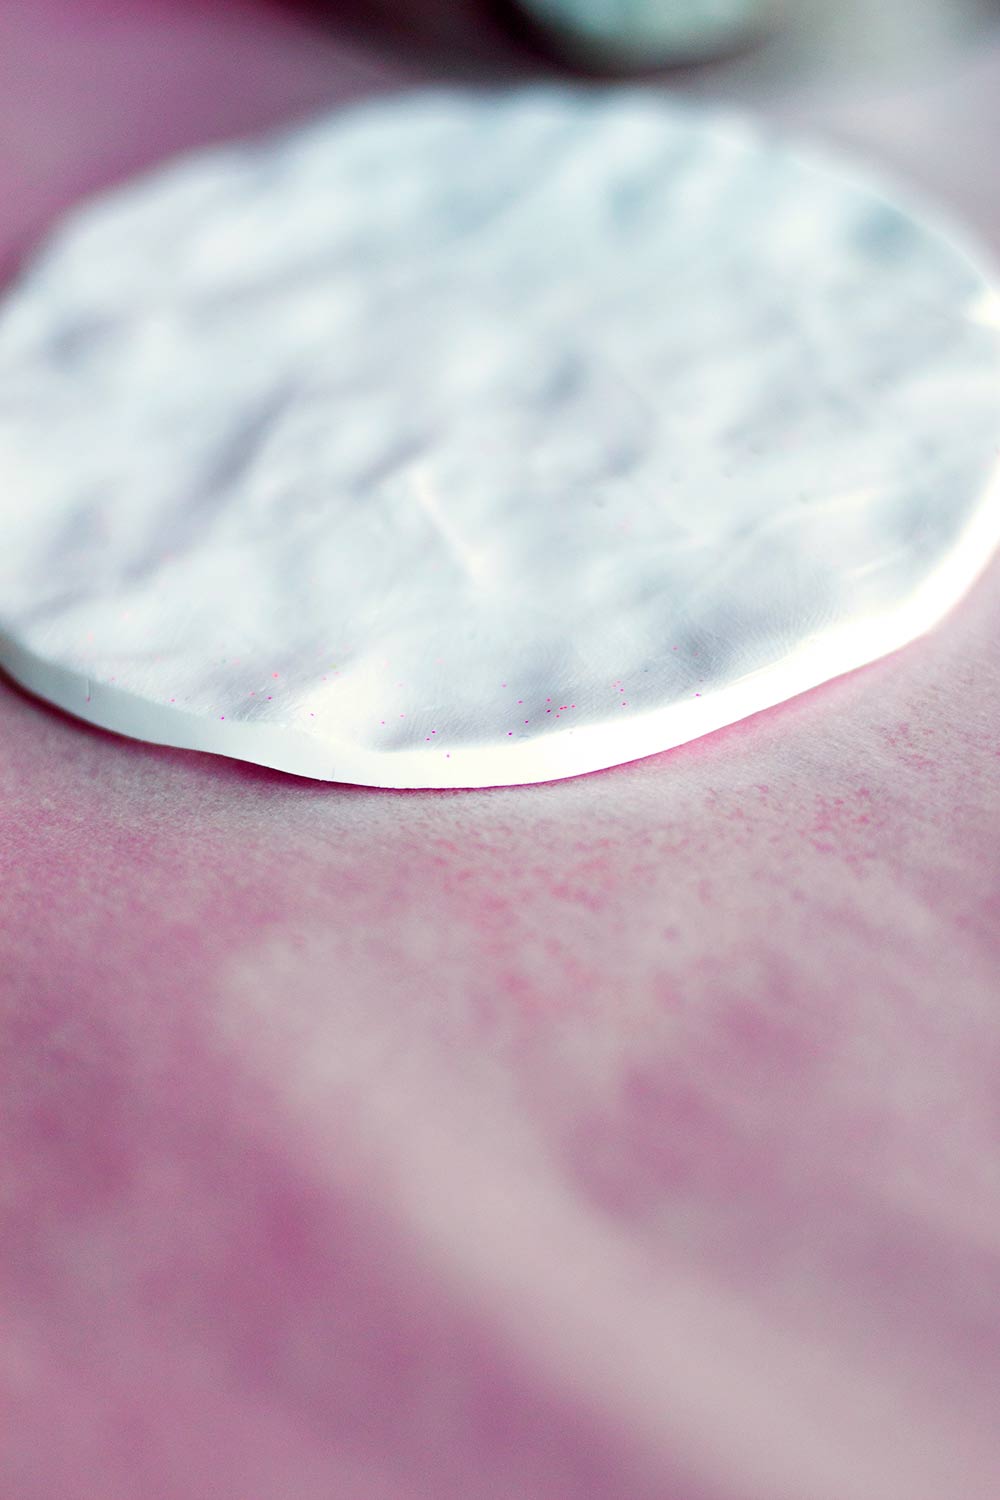
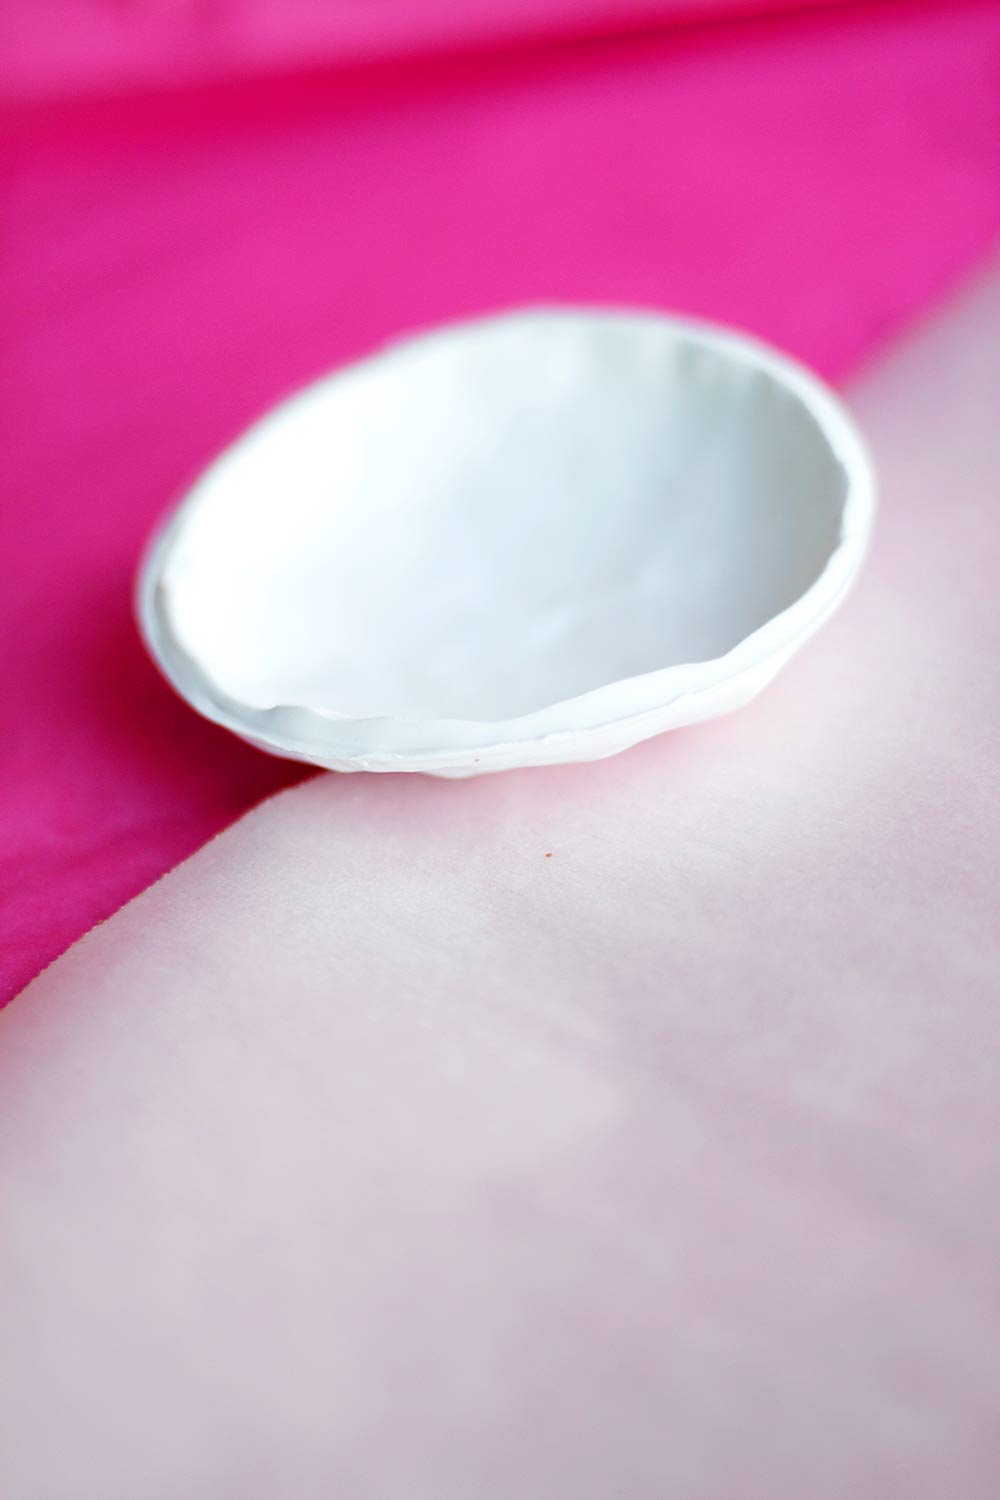
Flatten out clay to 1/4in using either your fingers or a rolling pin and cut it into a circle. Your fingers will give you an uneven surface, like above, while a rolling pin will make it smooth.
STEP TWO
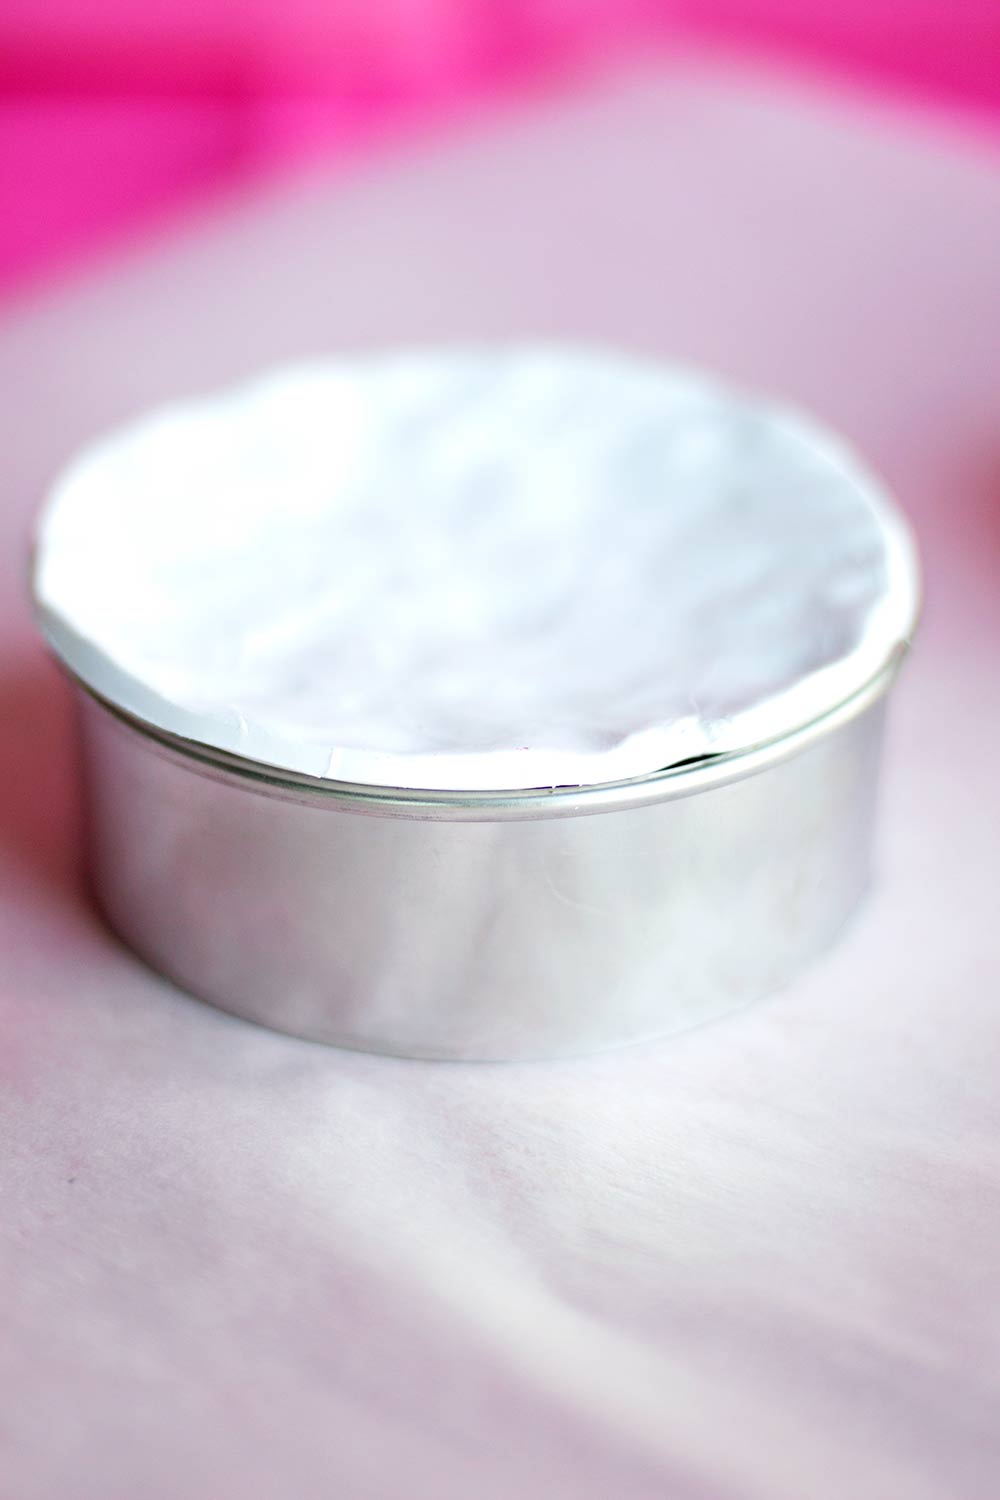
This is where using the graduated cutters come in handy. To cut the circle, I used the largest cutter and to shape the bowl, I used the next size down. Place clay on top of the cutter and press it down gently until it becomes slightly concave. And yes, that is some rogue hot pink glitter stuck to the clay. I don’t even know where it came from! #craftinghazards
STEP THREE
Bake your clay (inside the cutter) according to the directions on the package. Allow to cool completely.
STEP FOUR
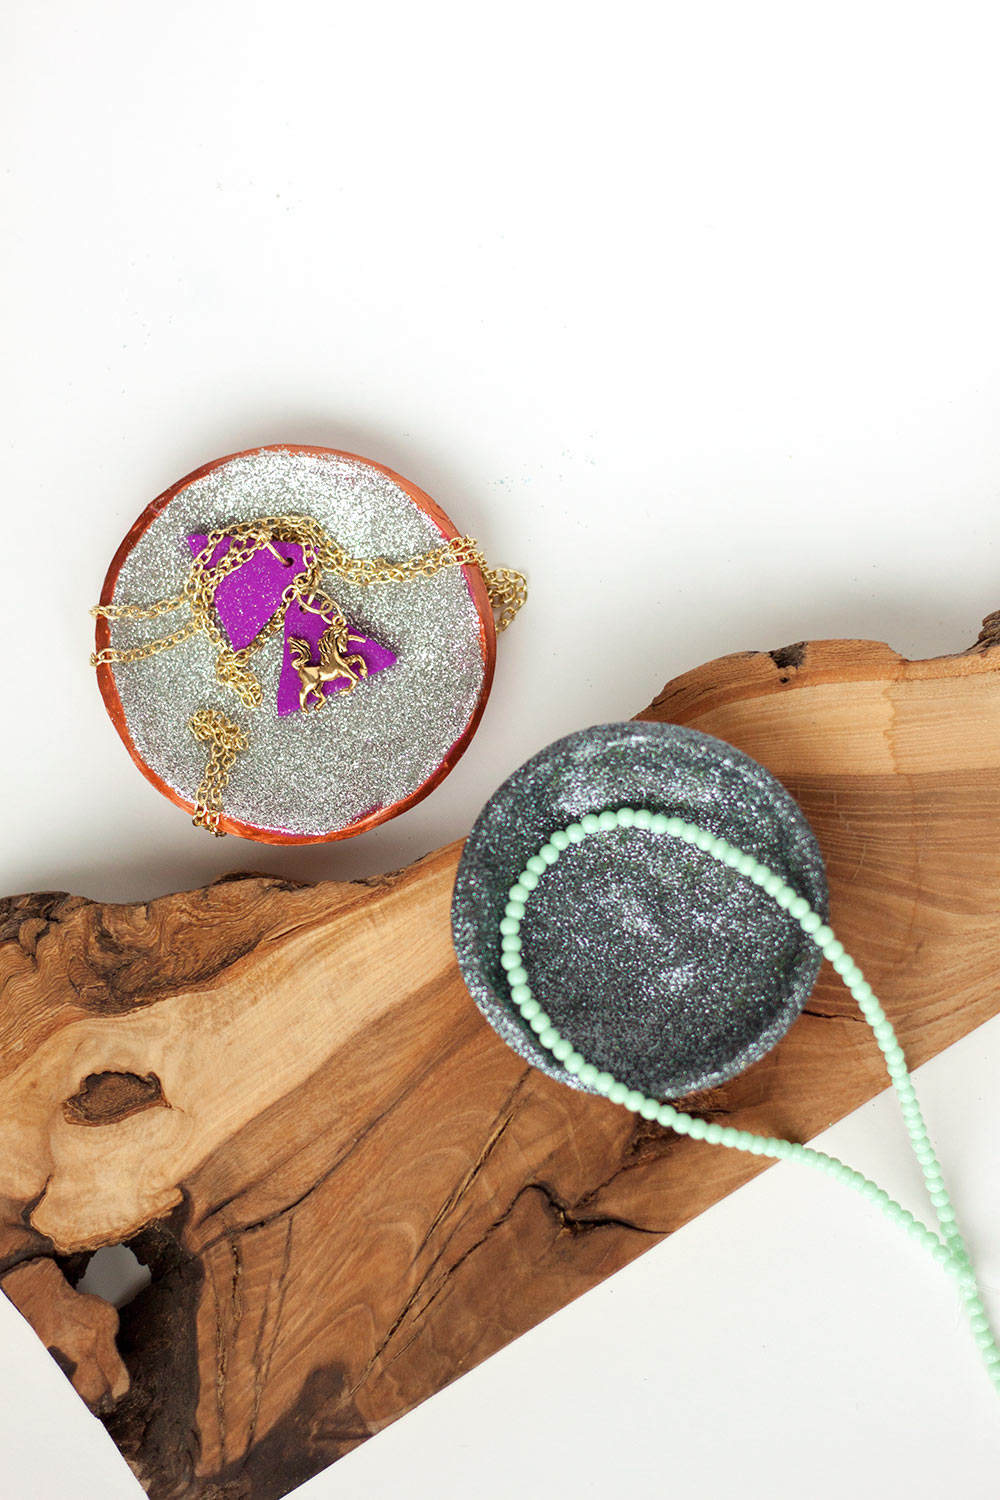
Paint and glitterfy (is that a word? It is now!)! I painted the bottoms with the porcelain paint and allowed it to dry for 24 hours. To add the glitter, I painted a thin layer of the glaze and then sprinkled the entire surface with glitter. Let dry and shake off excess glitter. Depending on your glitter, you may need multiple coats. If so, just add more glaze and sprinkle with glitter, allowing it to dry between coats. I used two full coats and a few small touchups on mine. Paint on one more thin layer of glaze (this will help keep the glitter from rubbing off), and bake according to directions. Let cool and start displaying your jewelry! Then make some more for the gifts you originally wanted to use these for.

Don’t forget to share your Glitter Ring Bowls on Instagram! #peonyandinkDIY
3 responses to “DIY: How to Make Glitter Ring Bowls”
[…] a armazenar essas miudezas temporariamente enquanto você estiver ali, no banheiro. O primeiro é todo feito com glitter e o segundo tem pequenos splashs de tinta – […]
[…] te ajudarão a armazenar essas miudezas temporariamente enquanto você estiver ali, no banheiro. O primeiro é todo feito com glitter e o segundo tem pequenos splashs de tinta – […]
These are totally happening!!!